This post contains affiliate links. That means that if you click through and make purchases through those links, I can earn a commission. For more information, feel free to see our full disclosure.
This easy DIY archaeology dig for kids is a fun, hands-on way to make ancient history come alive as kids dig for their own artifacts and learn about the tools that archaeologists use to learn about history! It is a great elementary history activity that can be scaled up or down depending on the ages of your students.
I recently shared some of the things that are working in our homeschool this year and one of those things is hands-on learning. The boys, like most kids their age, learn so much through play and hands-on activities like crafts and games.
This year, we have been going through Story of the World, Volume 1: Ancient Times by Susan Bauer. The format of this text lends itself well to doing all together, so that’s what we do. I read the chapters aloud to the boys while they color the coloring pages and a we review the map work together.
If you are looking for a fun Story of the World themed activity for multiple ages of kids or simply an easy archaeology activity for kids, this is a great one!
One of the things I really love about this series is the activity book that accompanies the text. It is full of ideas for further reading (our favorite is Usborne Encyclopedia of World History) and several project and activity ideas to take the lessons further. It is nice to get to pick and choose which activities to do in our homeschool based on the boys’ interests, supplies we have on hand, and which ideas I think are the most helpful for our family.
In one of the beginning chapters, we talked about the different ways we learn about history. One of those ways of course is looking at artifacts left behind and discovered from the past.
We used this book to talk about how Archeologists Dig for Clues to tell us about how ancient peoples may have lived. It is a simple, but highly informative children’s book that we all loved. (You can check out the whole “Let’s Read and Find Out Series” here.)
In the book, we learned how archaeologists find places to dig, how they set up dig sites, map out their finds, and put clues together to learn about the past. After that, we put on our archaeologist hats and set out to create our very own archaeology digs.
How to Create an Easy DIY Archaeology Dig for Kids
When I set out to create an archaeology dig site for the boys, I knew that it needed to be simple. Teaching and preparing for everyone takes a lot of time, and I wanted this to be fun, easy, and stress free.
I think we accomplished that. It has been one of our favorite activities this school year.
Supplies
- Clay pots – we grabbed terra cotta pots from a local garden center
- Black acrylic paint
- Foam brushes
- Hammers
- Kids safety goggles
- Plastic Activity Trays – these need to have some depth to them. We use paper trays for our activity trays. You can often find these during back to school season in many stores.
- Play Sand
- Yarn or string
- Tape
- Paint brushes
- Paper and pencil
- Hot glue, optional
Create Your Own Ancient Artifacts!
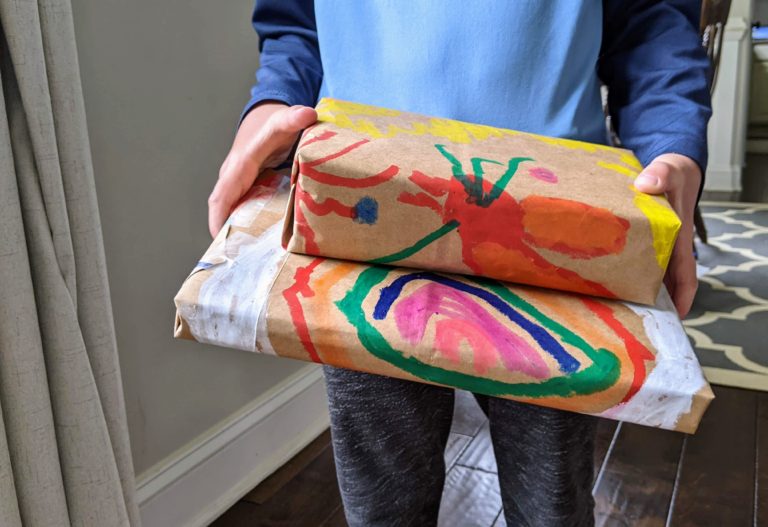
The first thing we did was to create our own artifacts. We did this by using foam brushes and acrylic paint to paint our clay pots. I let the kids decide how they wanted to decorate them and they loved the creative freedom.

Once the paint was dry, I gave each of the boys a pair of safety goggles and let them smash their pots.
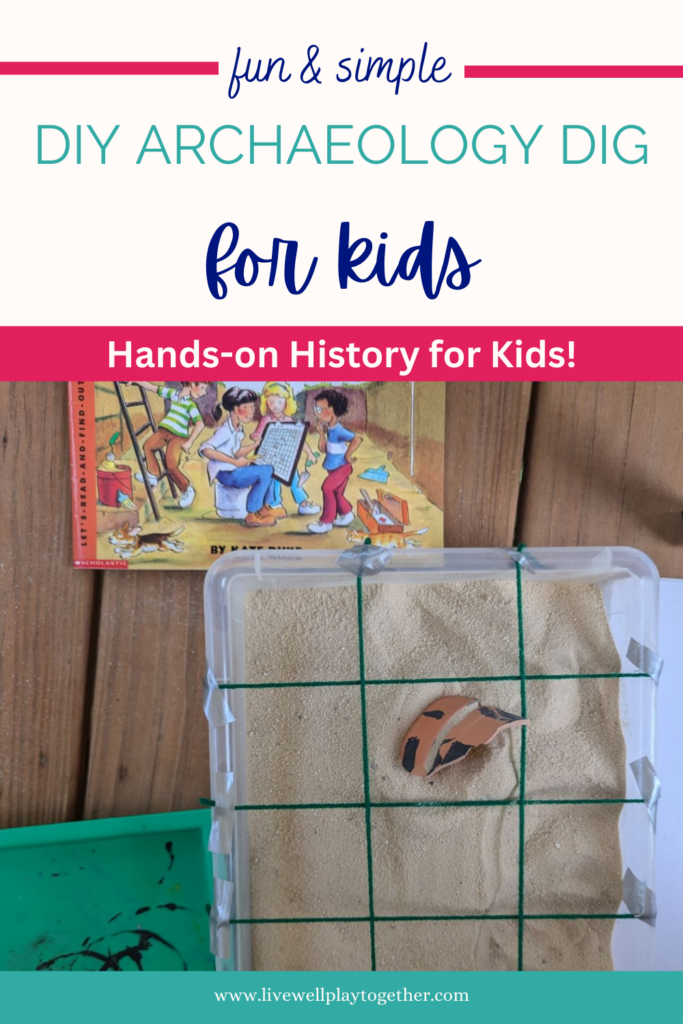
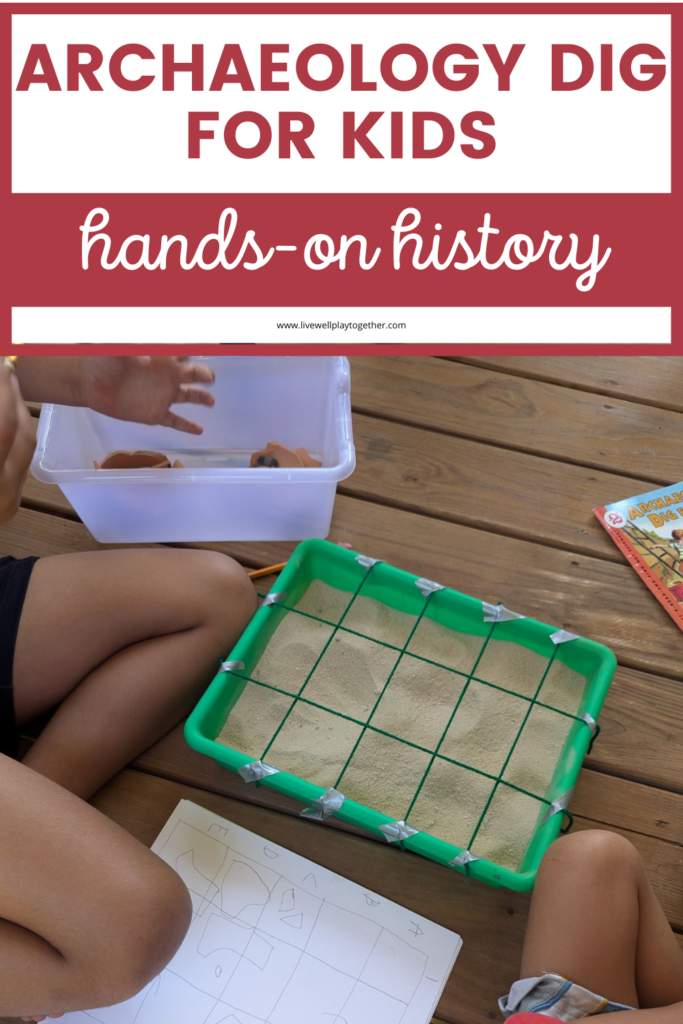
I filled each of their activity trays with play sand and buried their own vase pieces in their trays. Next, I taped a yarn grid across the top to create an official dig site for each of them.
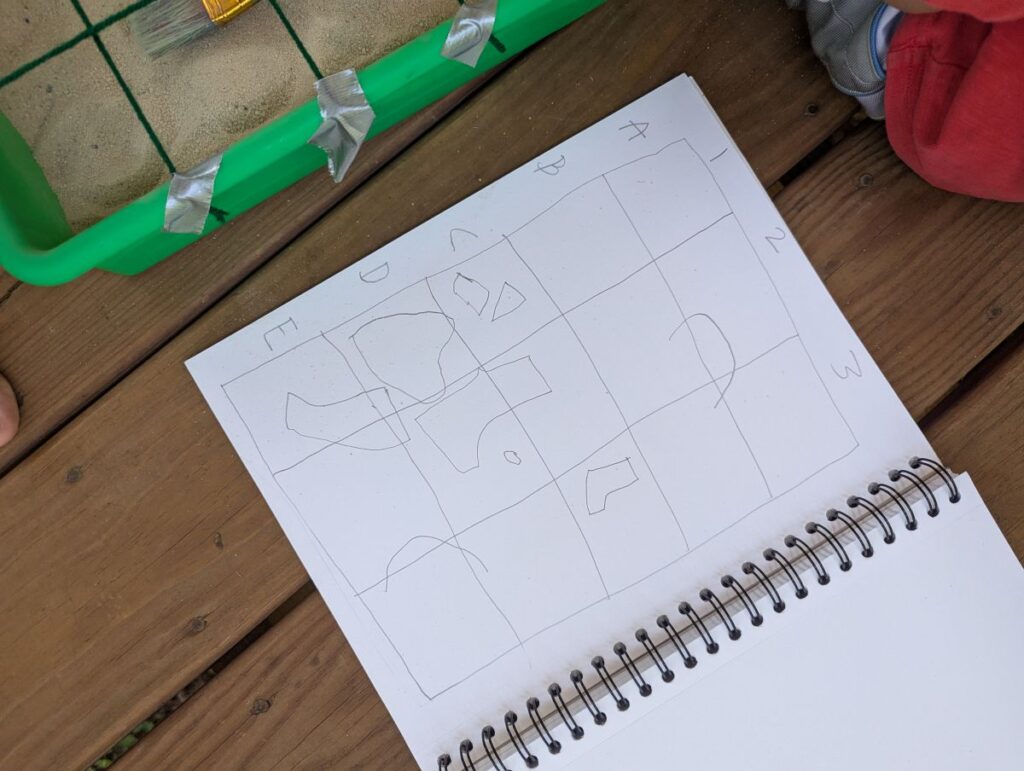
In their school notebooks, I had each of them draw and label the grid. We talked again about how important it is for archaeologists to keep their digs organized and record where each artifact was found on the site. As a bonus, this was a simple way to expose them to coordinates and review some of the foundational map skills that we have talked about.
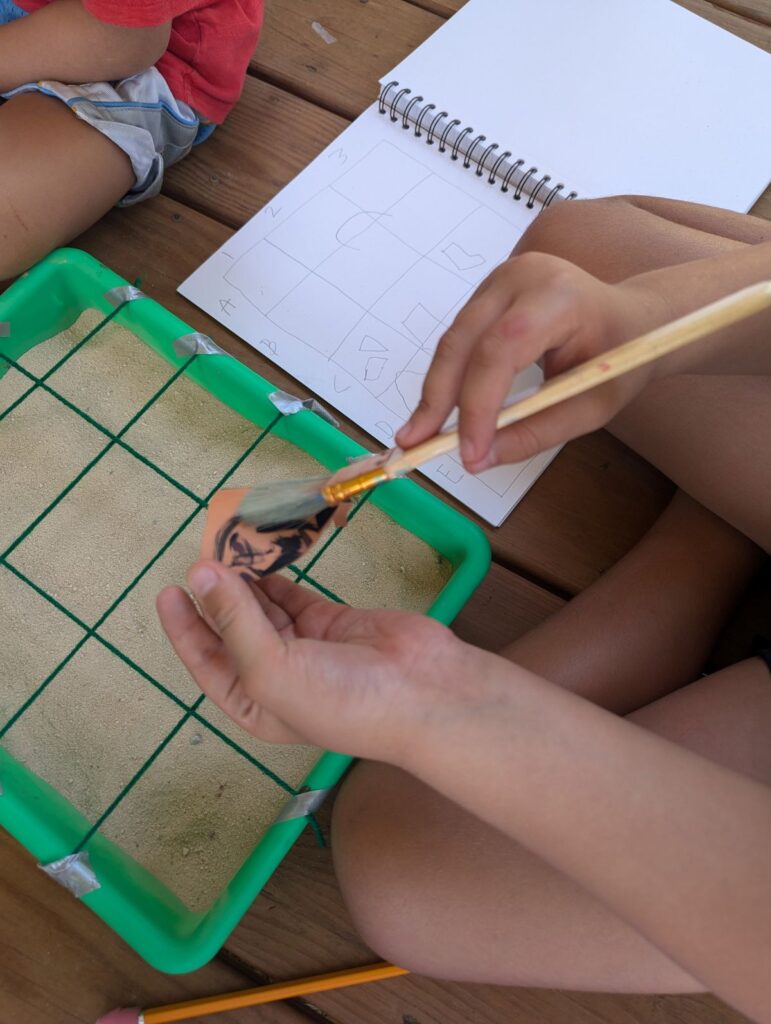
Now, it was time to dig! I gave each boy an old paint brush to let them practice cleaning their artifacts as they found them. They were so careful to label their artifacts on their grids before setting them aside.
Once they were confident that they had found all of the pieces of their vases, they began to piece their vases back together.
I used hot glue to glue the parts together the best we could. I did not expect to do this and it actually ended up taking more time than I thought, but in the end, I thought it was perfect. No one was able to find all the parts of their vases and so each one has some holes and imperfections.
This ended up being a great way to demonstrate how archaeologists piece together clues that they find and how we often have to fill in the holes or gaps with other information that we know. We could tell that they were vases, even though they were not complete.
We talked about how we often see things like this in history museums as well – small pieces of history that we use to fill in puzzles of the past.
This fun and easy archaeology dig proved to be an excellent hands-on learning activity for all of our boys. It was simple to put together and provided a lot of open ended sensory play once we finished the official dig.
I, and the boys, highly recommend it!