This post contains affiliate links. That means that if you click through and make purchases through those links, I can earn a commission. For more information, feel free to see our full disclosure.
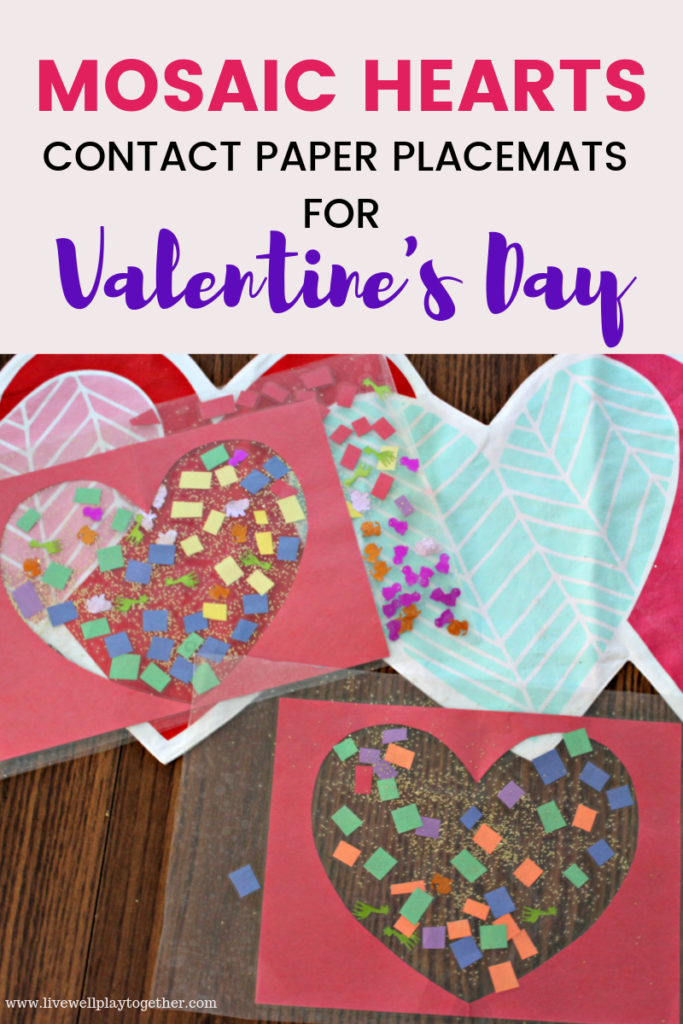
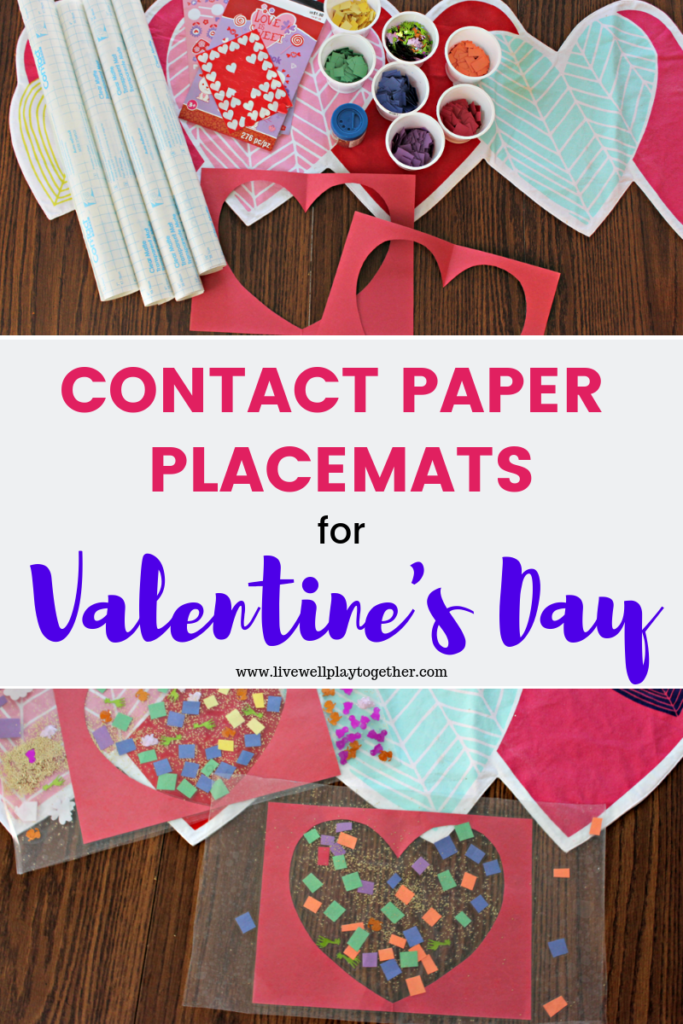
Today, I’m sharing what I think might be the last of our Valentine’s Day crafts this year – a super easy, no mess, Mosaic Heart Contact Paper Placemat!
Don’t hold me to that “last” thing though – it’s entirely possible that you’ll find a last minute project up here before Valentine’s Day. But not to worry – if you do, it will be super simple and you’ll probably already have what you need to make it so you’re good to go.
But where were we? Yes – contact paper placemats.
Mosaic Hearts Valentine’s Day Placemats
If it tells you anything about my ability to hold onto something for a craft project, I actually had the idea for this a couple of years ago when we made our Tissue Paper Hearts with contact paper.
When I cut the center heart out of the construction paper, I made a mental note of how much the outside paper resembled a placemat, and rather than tossing them in the trash, I put them in our craft cabinet for another Valentine’s Day.
And here we are.
The best part about contact paper crafts is that everything sticks to it, so clean-up tends to be really easy. Have I convinced you yet?
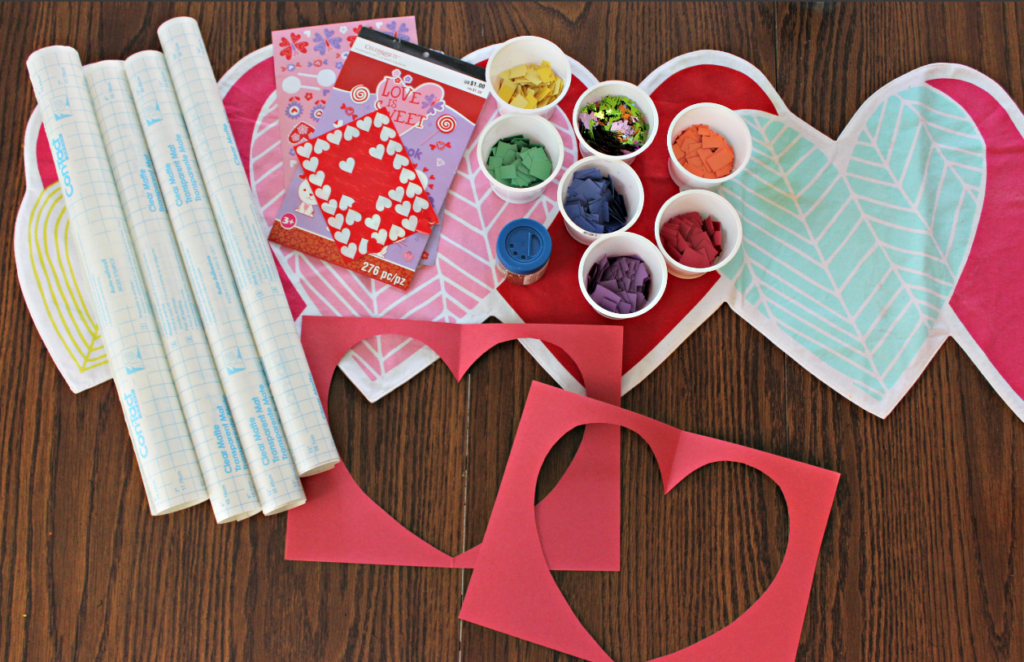
Supplies
- Clear, matte contact paper
- Construction Paper Sheets
- We used red for our hearts, but any color will work just the same.
- Scissors
- Filler materials – glitter, stickers, small pieces of construction paper, tissue paper pieces, party confetti, really anything small and decorative
- Markers, optional
How to Make Your Own Valentine’s Day Placemat
- Fold your construction paper in half and cut out a heart shape.
- Make sure to leave the edges of the paper in tact. Should look like this:
- Cut 2 sheets of contact paper that are just a little bigger than a piece of construction paper and stick the paper part of the placemat on one of them. Set the other piece aside.
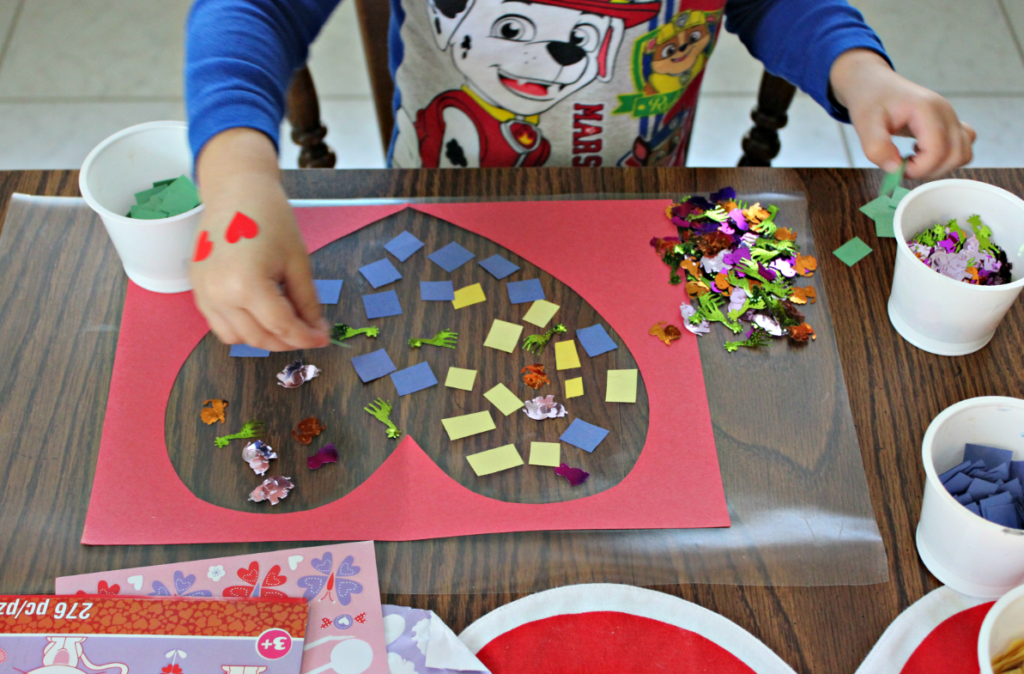
- Using markers and filler materials, let your child decorate his or her placemat however they like. Really – no rules here. Just let them decorate it to their own liking.
- Once they are finished decorating, carefully seal the placemat by sticking the other piece of contact paper on top, smoothing it out as you go.
- Trim off any excess around the edges.
And that’s it! This was easy enough, I even let my 12 month old try his hand at it. And while the results were not as elaborate as his big brother’s it was a fun project that we could all do together and that’s good enough for me!
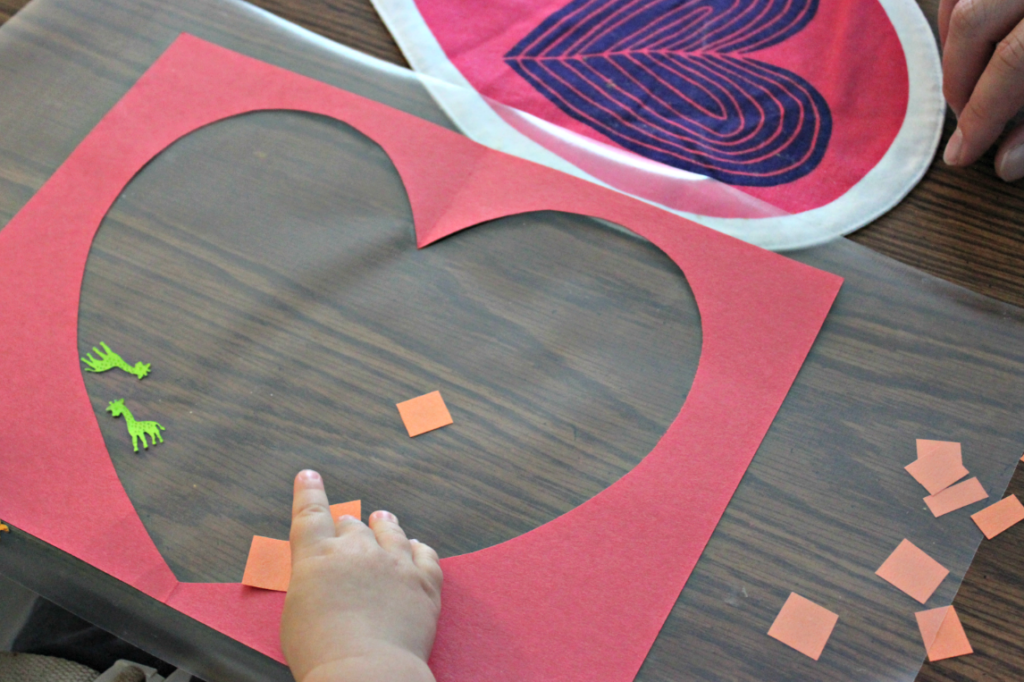
If your kids really enjoyed this project, why not make one for each family member (or better yet, make these as a fun family activity) so that everyone can have their own placemat this Valentine’s Day!
We actually did this all together as a family over the weekend and it was SO MUCH FUN to have Daddy involved in our crafting adventures! They boys (and I) loved it!
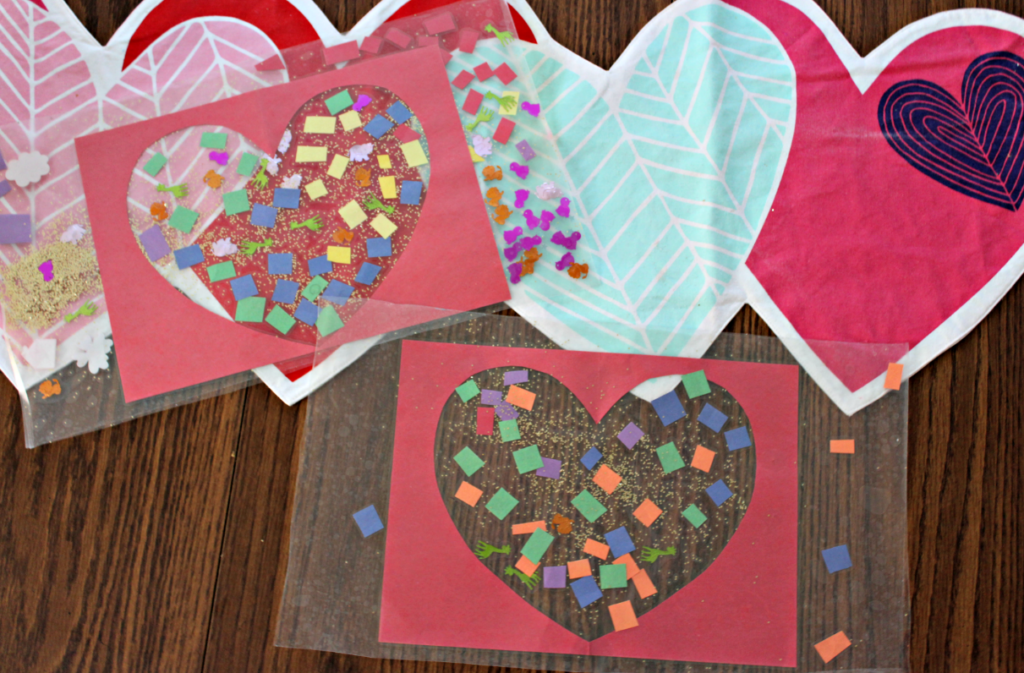


So fun! I’m doing a similar project with my daughters 2nd grade class on Friday!
so much fun great project for young and old. Thanks for sharing and bringing back the idea of this great craft we did years ago.
come see us at http://shopannies.blogspot.com
You are so creative this is such a great idea. And I have just enough time to be able to make this for next week. My daughter will absolutely love this. Thanks for sharing!
These are so cute! My kids would love them!
This is such a cute idea! Fun and simple craft for Valentine’s Day!
This is such a cute idea! I may have to have my kids do this for our family Valentine’s Day dinner.