This post contains affiliate links. That means that if you click through and make purchases through those links, I can earn a commission. For more information, feel free to see our full disclosure.
With the weather warming up, we are trying to spend as much time outdoors as we can. There is always something new and fun to see when we go outside and the fresh air does everyone good. (It’s one of my top tips for turning around a crazy day – just get outside!)
One animal that we like to be on the lookout for whenever we take nature walks near a lake or body of water is turtles. It’s always a treat to spot them out getting some sun on a log. Our local museum has turtles on exhibit also, and the boys always enjoy watching them swim around.
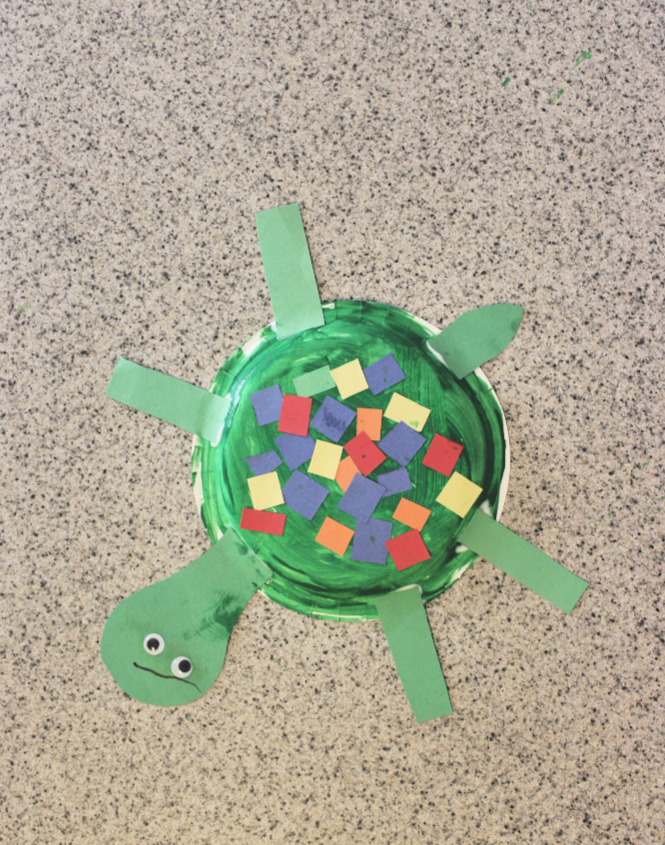
And because my Little loves anything animal related, we decided to make a paper plate animal craft and a mosaic turtle it was!
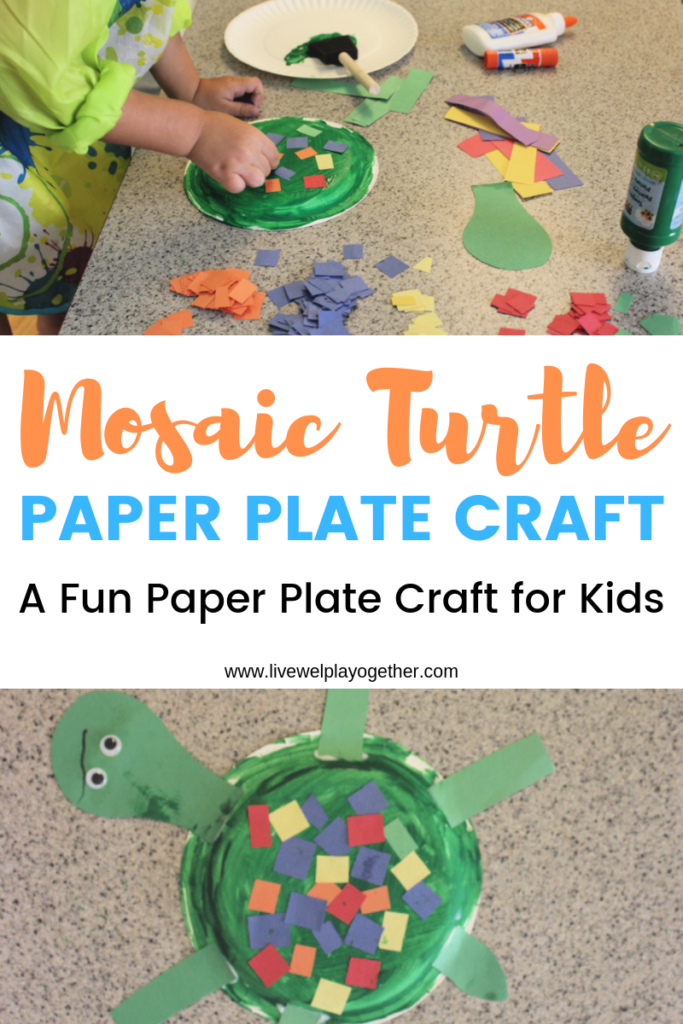
How to Make Your Own Paper Plate Turtle Craft
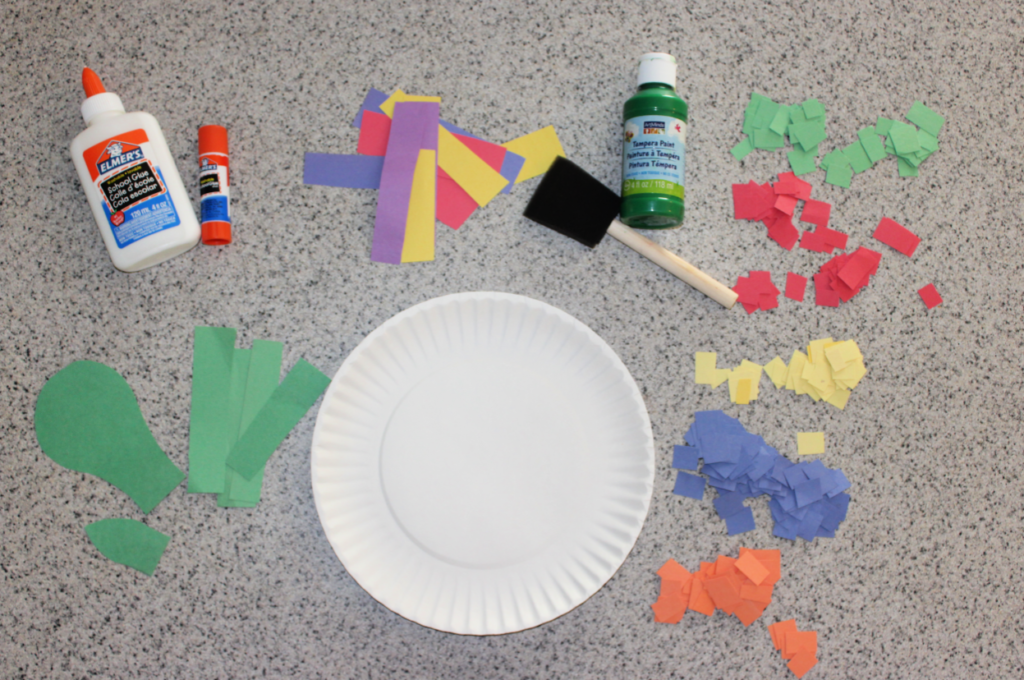
I love paper plate crafts because for the most part, we have all the supplies on hand already – so it’s easy to put together without too much prep. Here’s what you need for your paper plate turtle.
Supplies
Instructions
To be fair, there is a little bit of prep work you’ll need to do for this craft.
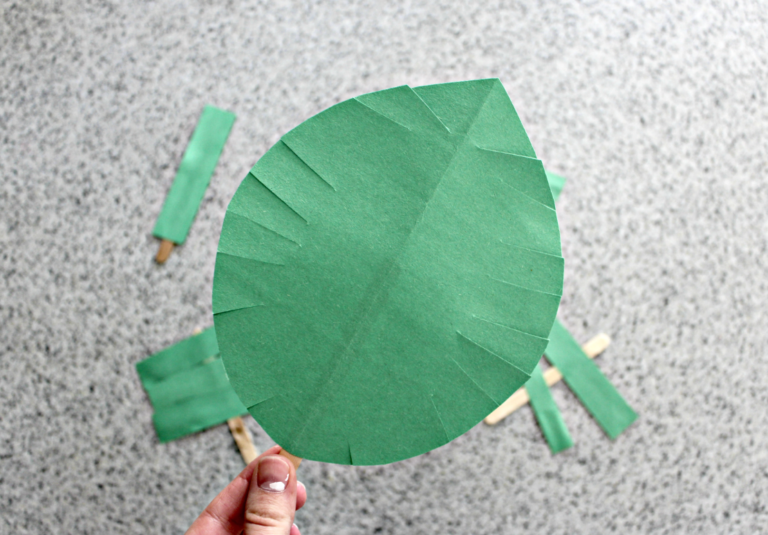
- Using a piece of green construction paper, cut out the head, legs, and tail for your turtle. You can get as fancy and precise as you want, but you can see, I just did rectangle pieces for our legs, a pointed piece for the tail (another rectangle that I used and cut the end into a point), and a round shape for the head.
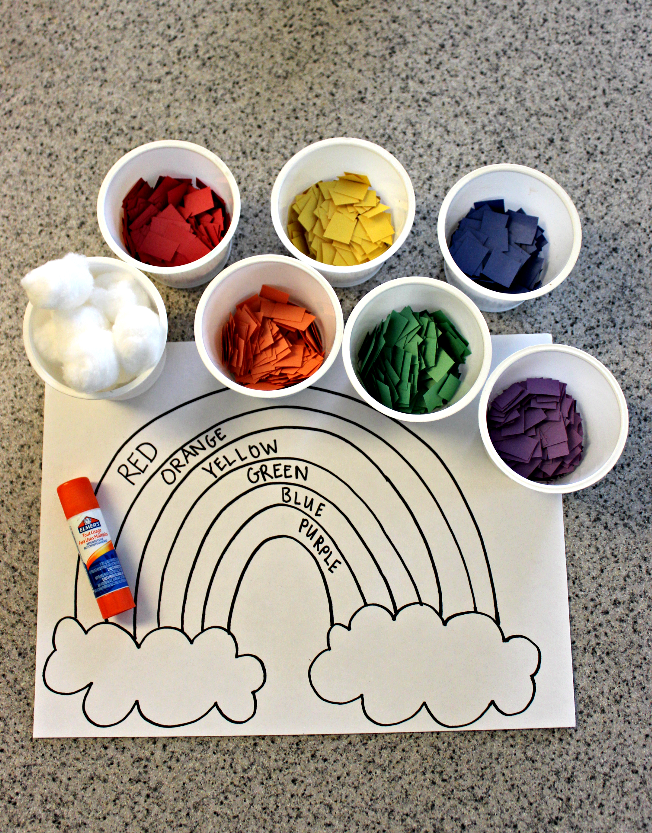
- Cut squares (or any shapes) out of other colored construction paper for the turtle’s shell mosaic.
- I used some pieces I already had on hand, but I think the easiest way to do this is to use a paper cutter to cut strips, then just cut the strips into little pieces.
Now to actually make your paper plate turtle.
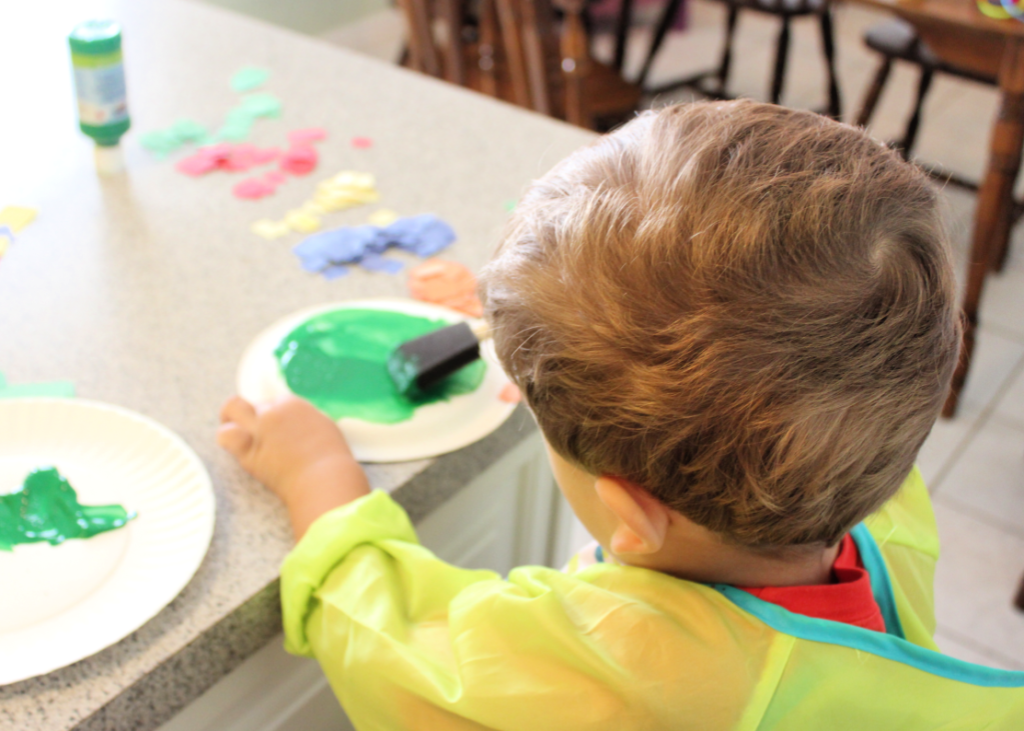
- On one paper plate, pour out some green tempura paint that you’ll use for your turtle shell.
- Use a foam brush to paint the bottom of your next paper plate (your turtle shell) and let it dry.
- Make sure you paint the bottom of the plate to make an actual shell otherwise, you might end up with an upside down turtle, and we don’t want that!
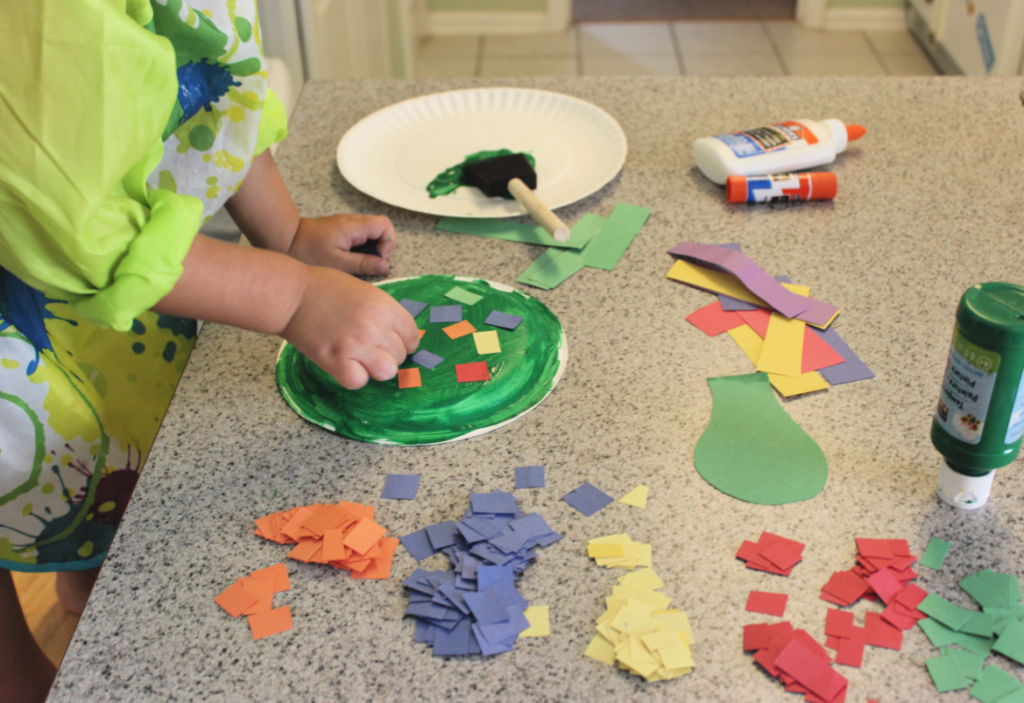
- Once your turtle shell is mostly dry, use glue to glue on the colored pieces of paper to create the mosaic shell.
- Don’t worry if it’s not completely dry. Any wet paint will end up being sticky to the paper anyway.
- Now, it’s time to glue on the head, legs, and tail.
- You can also staple these pieces on to make them more secure, but if you’re kid is like mine, they will want to do it themselves and that means glue for us.
- Glue the googly eyes to your turtle’s head.
- Use a marker to add a smile (or if your child wants to do it themselves, add a line thing that resembles a mouth). Whatever works.
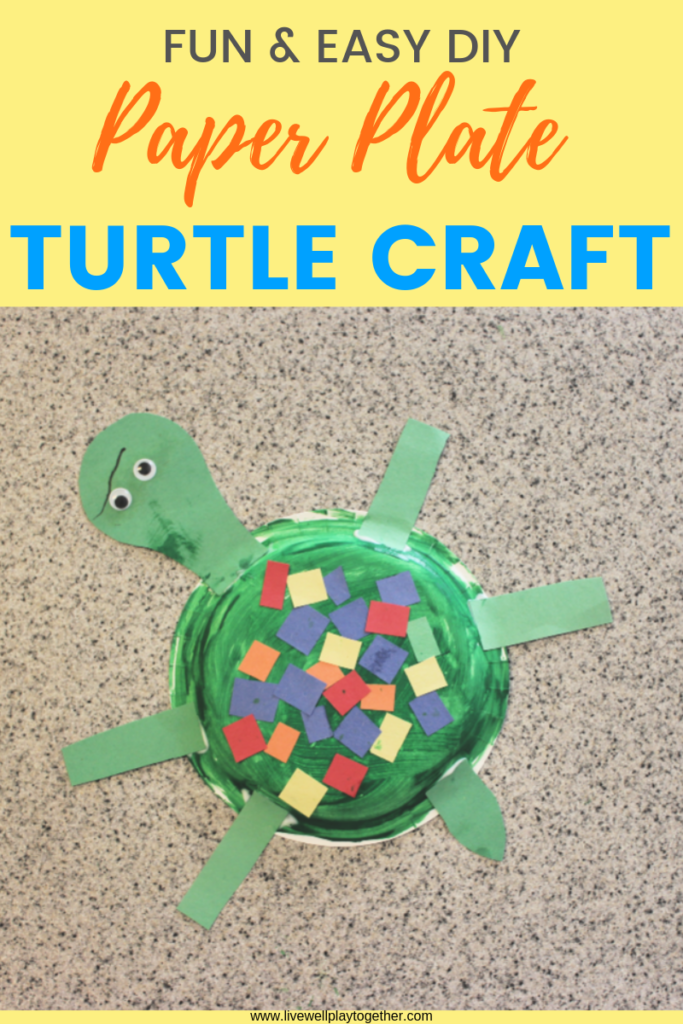
And that’s it! A fun mosaic turtle!
Additional Learning Opportunities
For some additional learning opportunities you can use with this paper plate turtle craft:
- Vocabulary: Talk with your child about what the word, mosaic, means. (A picture or pattern made by arranging together small, colored pieces, a group of small, colorful, and different pieces all together to make a whole picture or pattern).
- Color Recognition: For younger children, it’s a great way to practice color recognition. Practice saying the name of each color as you put it onto the turtle’s shell.
- Number Sense: Count the turtle’s legs or the pieces you use for your mosaic.
- Patterns: See if you notice any patterns in your mosaic (this might be tough unless you specifically decide to do patterns ahead of time – and especially if your children are younger, I HIGHLY suggest just letting crafts be fun. Giving your child the freedom to create will be more beneficial in this case than having them do specific patterns if that is not something they are already comfortable with or enjoy.)
- Animal Habitats: Use this craft to talk about turtle habitats. Where do turtles like to live? What kinds of environments are best for them?
So many great learning opportunities with this paper plate craft. These are just a few, but I’m sure you can think of many others. Of course, play is the most important work, so let your kids have some creative freedom as they make their own mosaic turtles!

My 3 year old is in a major sea life phase. This will for sure make the 100 degree days better!
This is so darn cute! I’m going to add it to our list of activities.
This is so cute! I love paper plate crafts!
This looks fun and so easy! My daughter is really into turtles right now so this would be a really great craft to do with her on a rainy day. Thanks so much for sharing.
So fun!We may have to do these today actually!
Do it!! It’s super fun – and you can decorate your turtle however you want!
What a cute and fun activity for littles! My kids did something like that at school the other day, and they absolutely loved it! Thanks so much for sharing!
I bet! It’s a super fun craft!
This is a perfect craft for summer. I love how you incorporate counting and colors! Such a smart idea!
It is a lot of fun! And lots of ways to make it your own! We love paper plate crafts over here!