This post contains affiliate links. That means that if you click through and make purchases through those links, I can earn a commission. For more information, feel free to see our full disclosure.
What day is it again? Oh, yeah – Easter is THIS week! And if you are anything like me, you have been trying to find simple, fun ways to celebrate with your kids using things that you already have at home.
And we love a fun Easter egg activity around here.
A couple of years ago, we made these sticker eggs, which were a big hit and frankly, still perfect for my two year old. This year, I wanted to do something similar, but maybe a little more complex with my oldest. So, salt painting it was.
This was our first try at a salt painting craft and I was really happy with how these salt painted Easter eggs came out!
Salt Painting Easter Eggs
These salt painted Easter eggs do not classify as no-mess, but they definitely felt less messy that dying real eggs. They were simple to set up and clean up, and we call that a win over here!
And since we already had all the supplies on hand, it was that much better.
Supplies
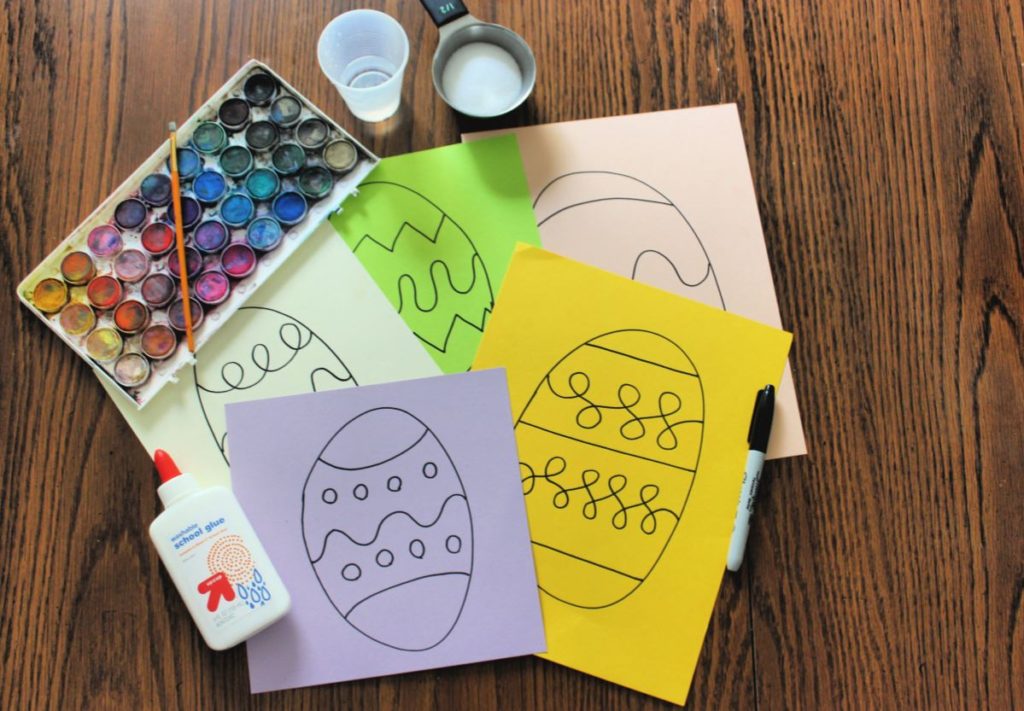
- Card stock paper, any color
- You will need to use heavier paper for this craft since the glue can be kind of heavy for copy paper.
- If you don’t have card stock on hand, you could also use paperboard boxes, like an old cereal box.
- Liquid school glue (not a glue stick)
- Salt
- Watercolor paint
- Paint brush
- Activity tray or baking sheet
Instructions
- To prep, I used a permanent marker to draw Easter eggs and designs on several pieces of card stock paper. I recommend this if you have younger children, but older children may wish to draw their own eggs and designs either before adding glue or with the glue itself.
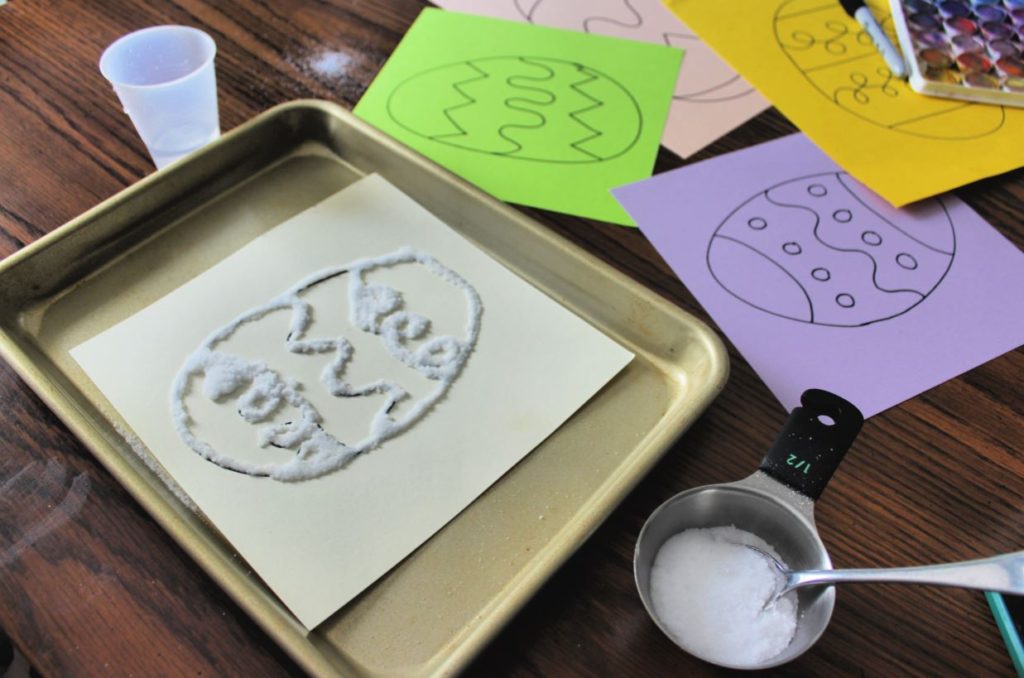
- Using the glue, trace over the design of the Easter eggs.
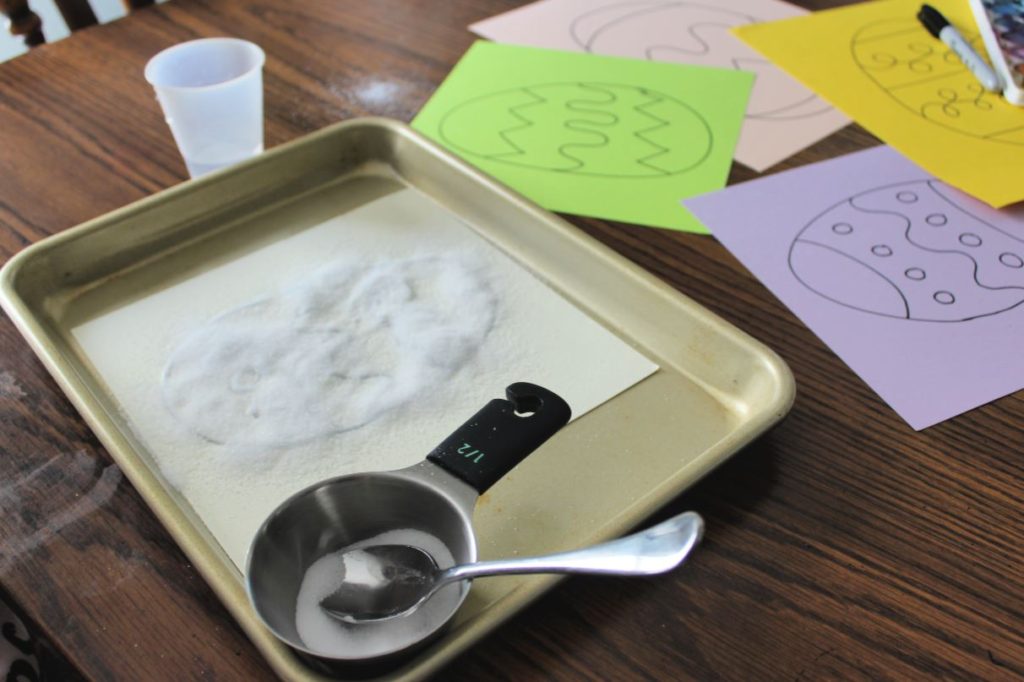
- Cover with salt.
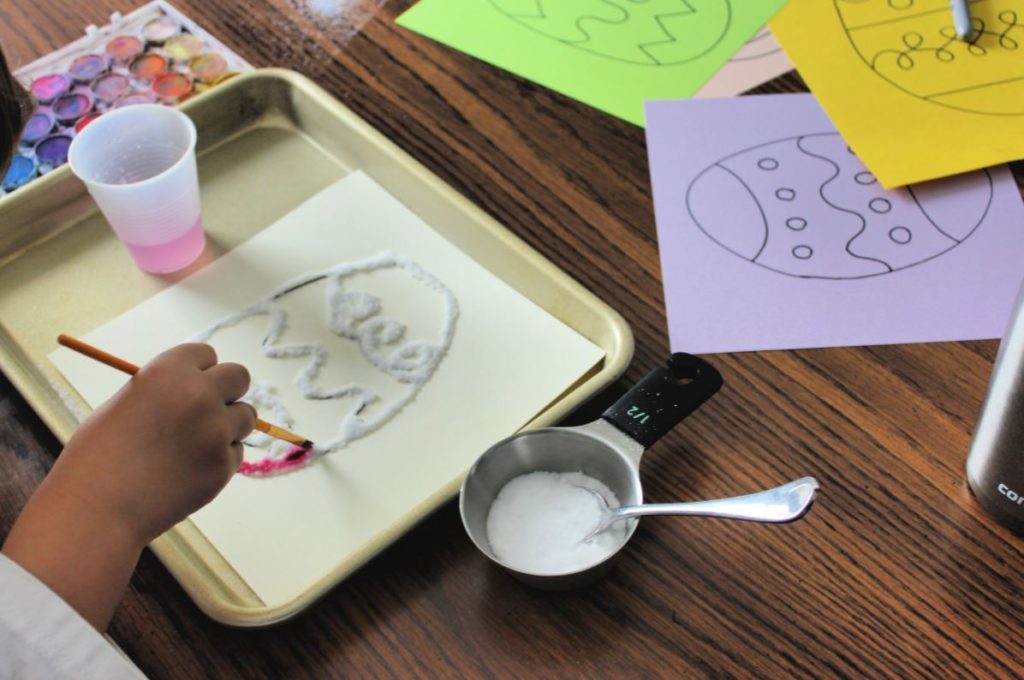
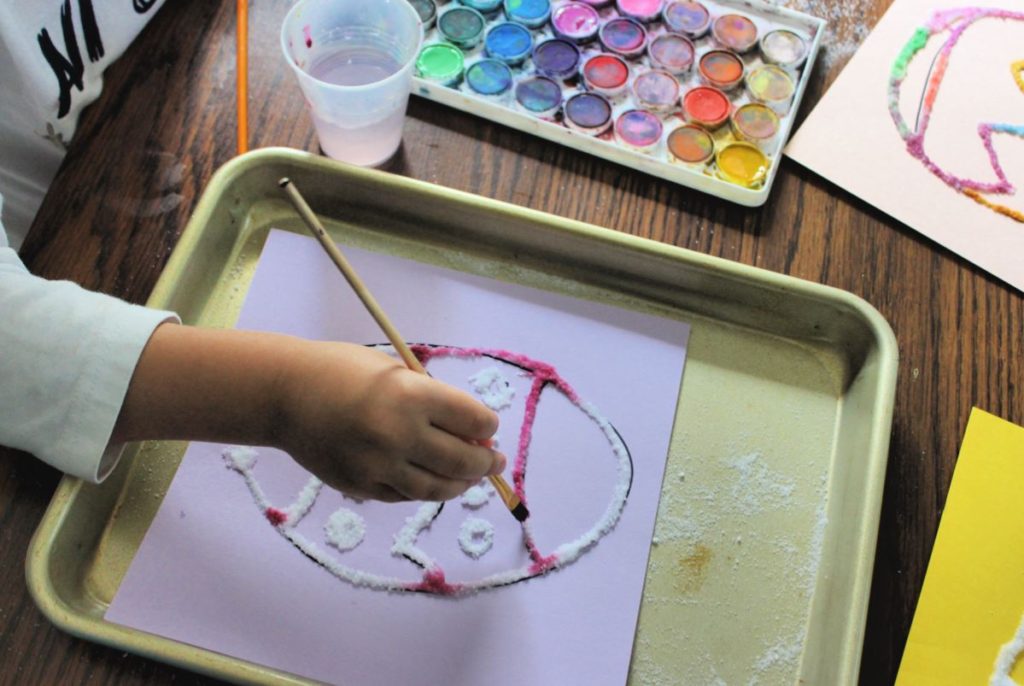
- To keep our project less messy, we used a baking sheet to keep our paper on during this activity.
- We also kept the salt in a measuring cup and scooped it out with a spoon rather than just dumping salt straight onto the eggs.
- If your kids are older, it might be okay to let them sprinkle salt directly from the salt container.
- Gently shake off excess salt.
- We shook ours back into the measuring cup so we could use it for our next Easter eggs.
- Wet paintbrush and fill with paint.
- Gently dab (do not brush) paint onto eggs until the designs have been fully painted.
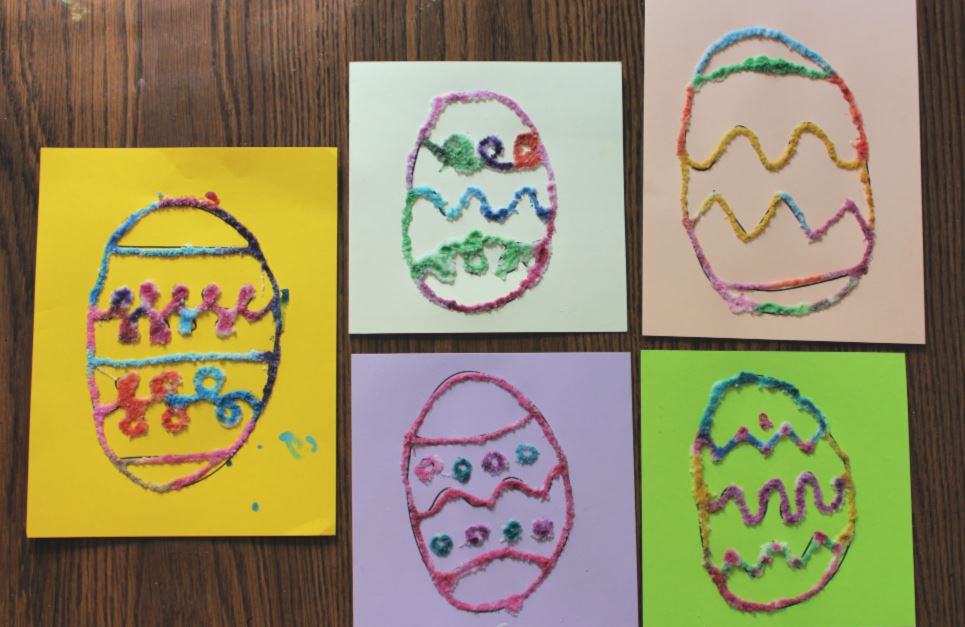
- Once you’re finished painting, just let your Easter eggs dry and you’re done!
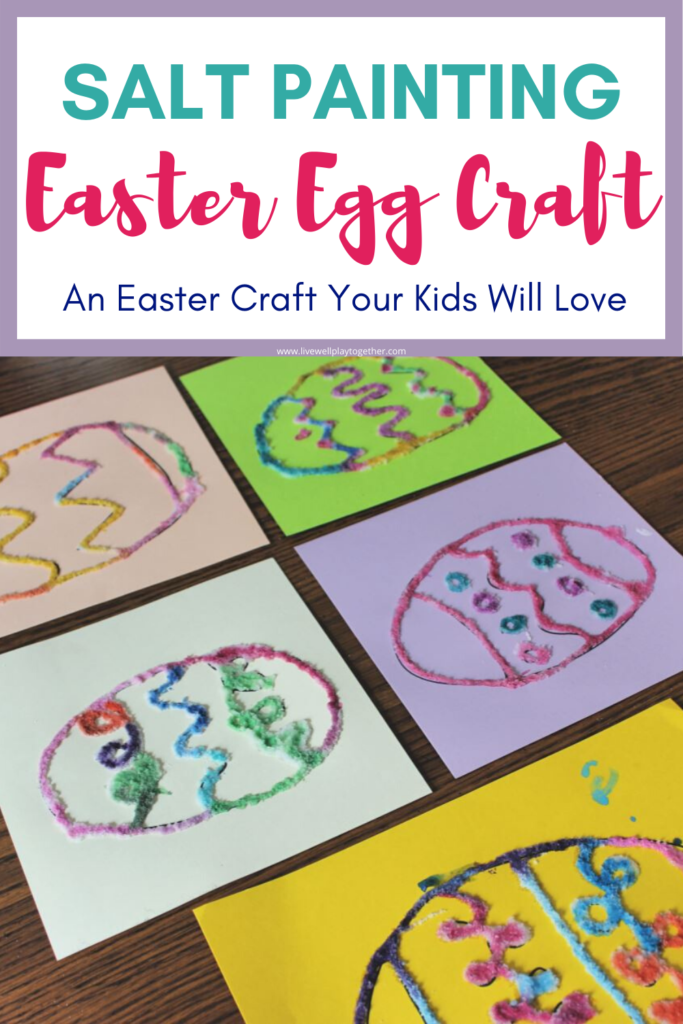
Look how fun and bright they turned out!
Learning with Salt Painting
And because we’re big on pointing out a quick science lesson or educational opportunity when they come up – especially when we’re doing something hands on like painting, salt painting is a great water absorption experiment for kids.
Do you notice that the watercolor paints are much brighter than they would be alone on paper? That’s because the salt actually absorbs the water when it touches it, leaving only the paint behind!
Don’t worry, you don’t need to go into too much detail on this, but opportunities like this where kids can SEE the science in action are fun ways to simply introduce them to concepts that they will continue learning about as they get older.
So, consider this an Easter art and science experiment! You’re welcome.

This is absolutely adorable! I am pinning this one!
-Holley @ beesimplyorganized.com
That is such a neat idea! Just realized we’re out of salt and now I️ need some because I️ want to do this with my girls! 🙂
What a fun project!!! The kid’s eggs came out amazing! Cuteness overload.
Love this project! We might try it today.